Getting started with HQPlayer Desktop
Introduction
HQPlayer Desktop consists of two parts. Server which is the actual HQPlayer Desktop application, and HQPlayer Client which is library browser and control application. These two components can reside on a different computer if needed.
Desktop can be used without the Client if some other control application is used, like for example Roon or HQPDcontrol. Or when drag-and-drop is sufficient way to manage the playback queue. Also for cases where realtime inputs are used, the Desktop can be used standalone.
HQPlayer Desktop (Server)
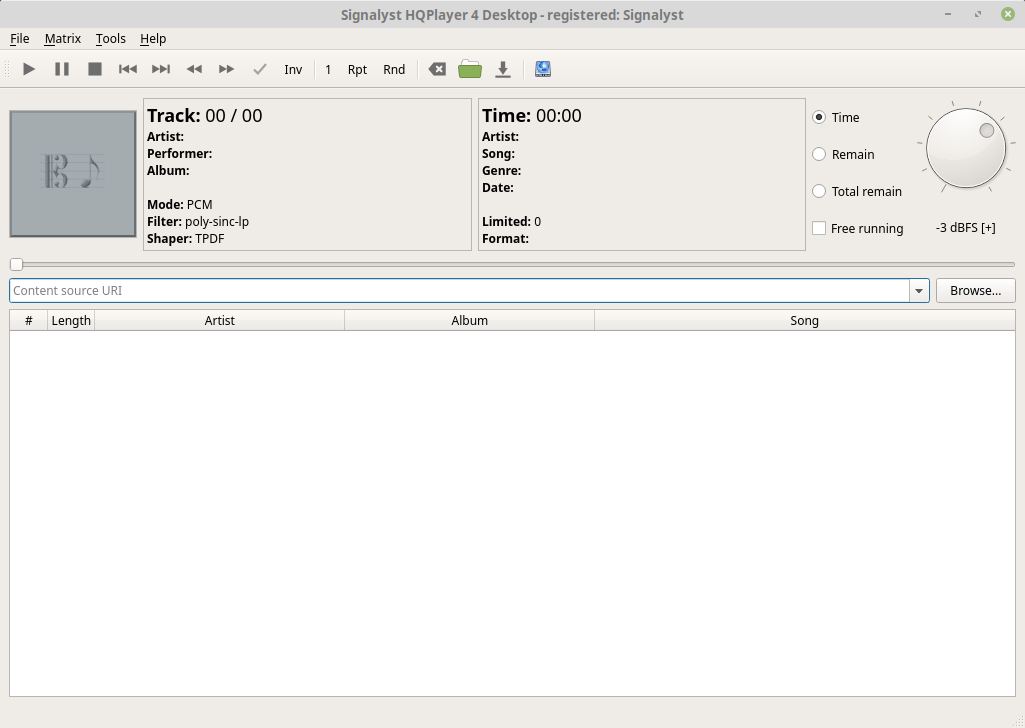
When HQPlayer Desktop is started, main window presents source control and playback queue / playlist, plus playback controls.
Playing from source selection
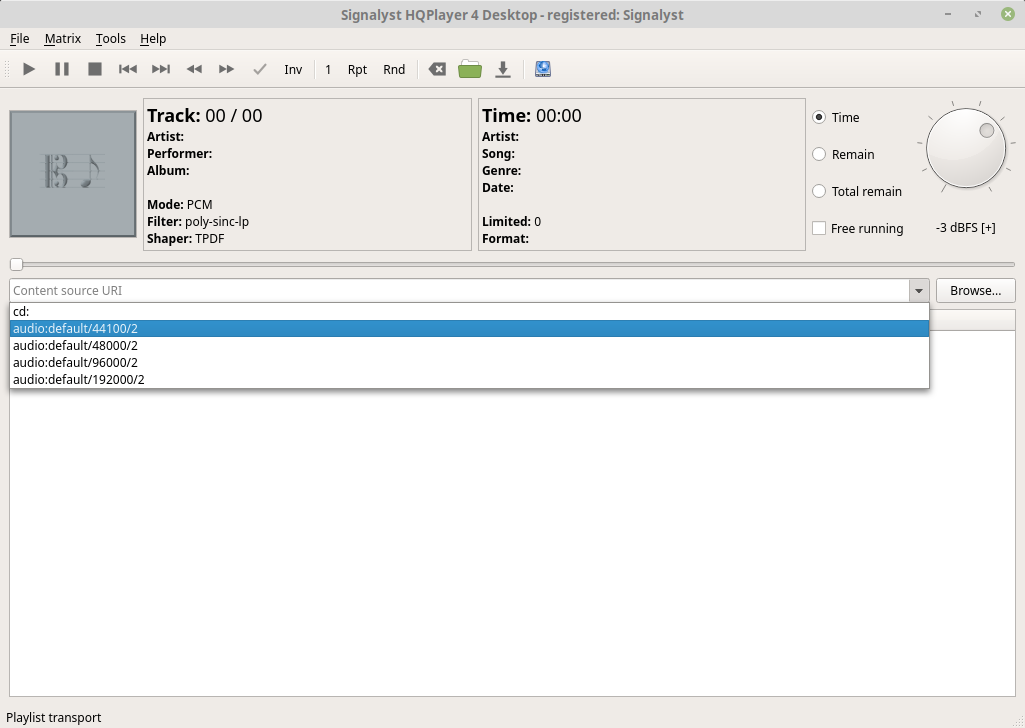
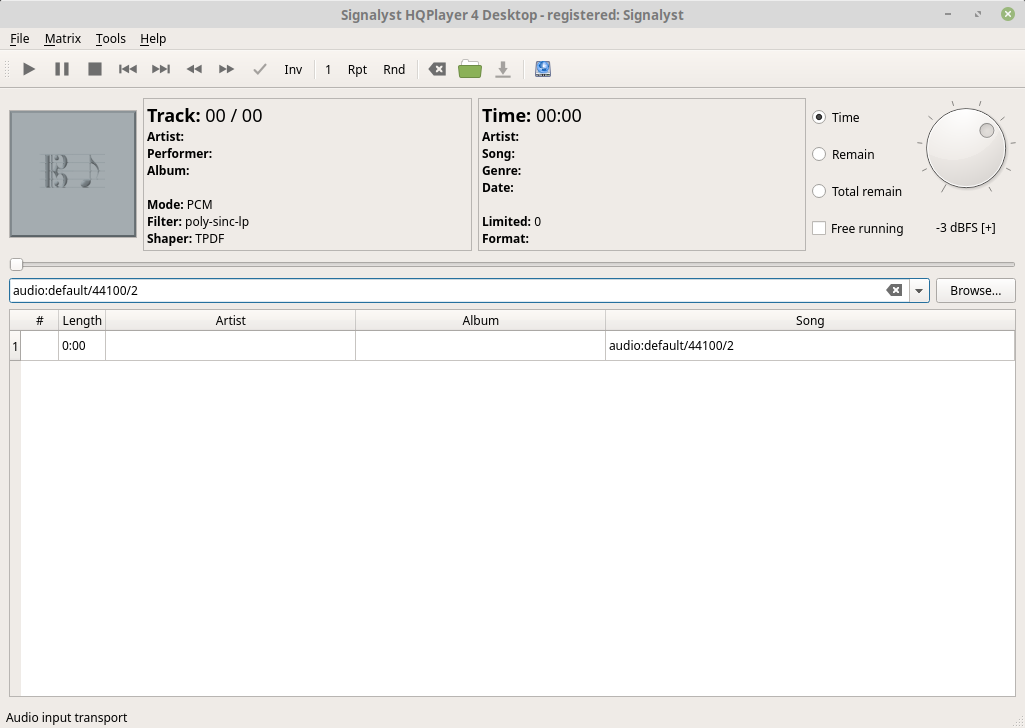
The “Content source URI” entry field operates like web browser address bar. For playing CD from configured drive, or for realtime input from configured source device, source can be selected from the drop-list. Browse-button can be used to select a music folder or storage for playback. Pressing enter after the URI will load content on the playlist below. Then pressing play will start playback.
Playing by using drag and drop
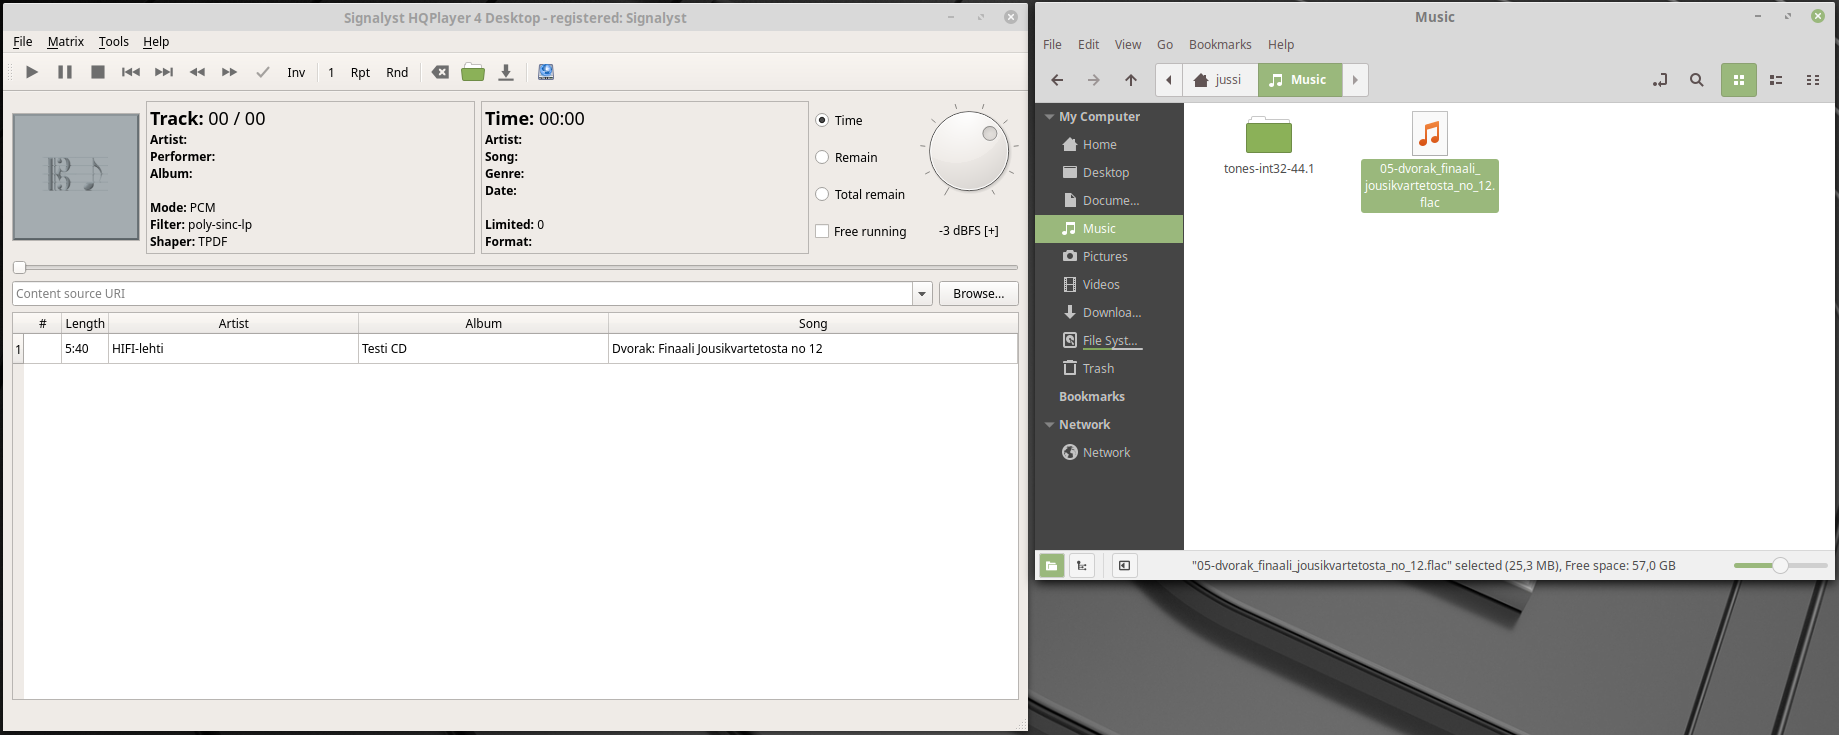
Content can be drag and dropped from a file system browser or from other applications such as library managers on Desktop window to add it on the playlist.
Adding content to the library
HQPlayer Desktop contains built-in library database that can be accessed remotely with various client applications. To add content to the library, open Library management dialog from the File menu.
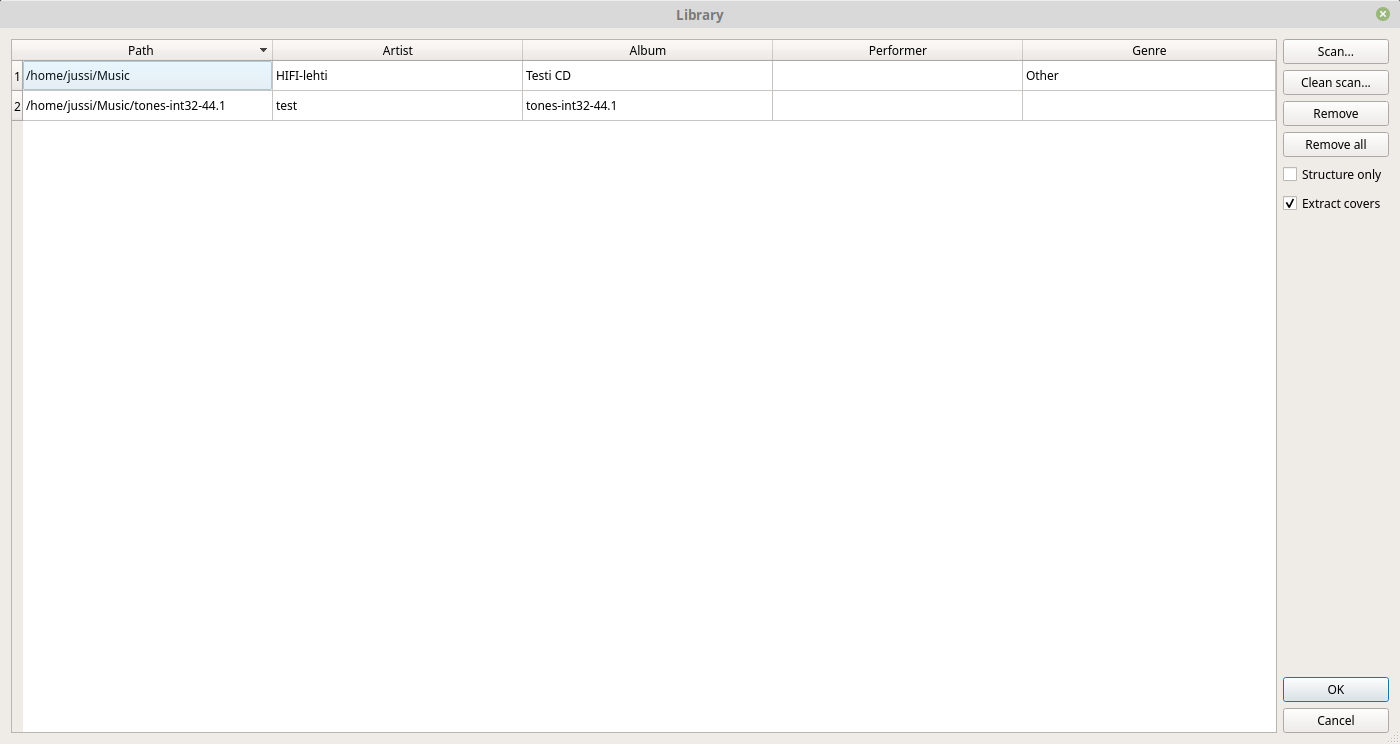
Content can be scanned for at any time using Scan button. This opens a directory selection dialog asking to select a music library root directory to begin scan from, all subfolders will be scanned. Any metadata edits made in the Library dialog will be preserved. Missing metadata is added. For shorter update scan time for newly added content, some suitable sub-folder can be selected.
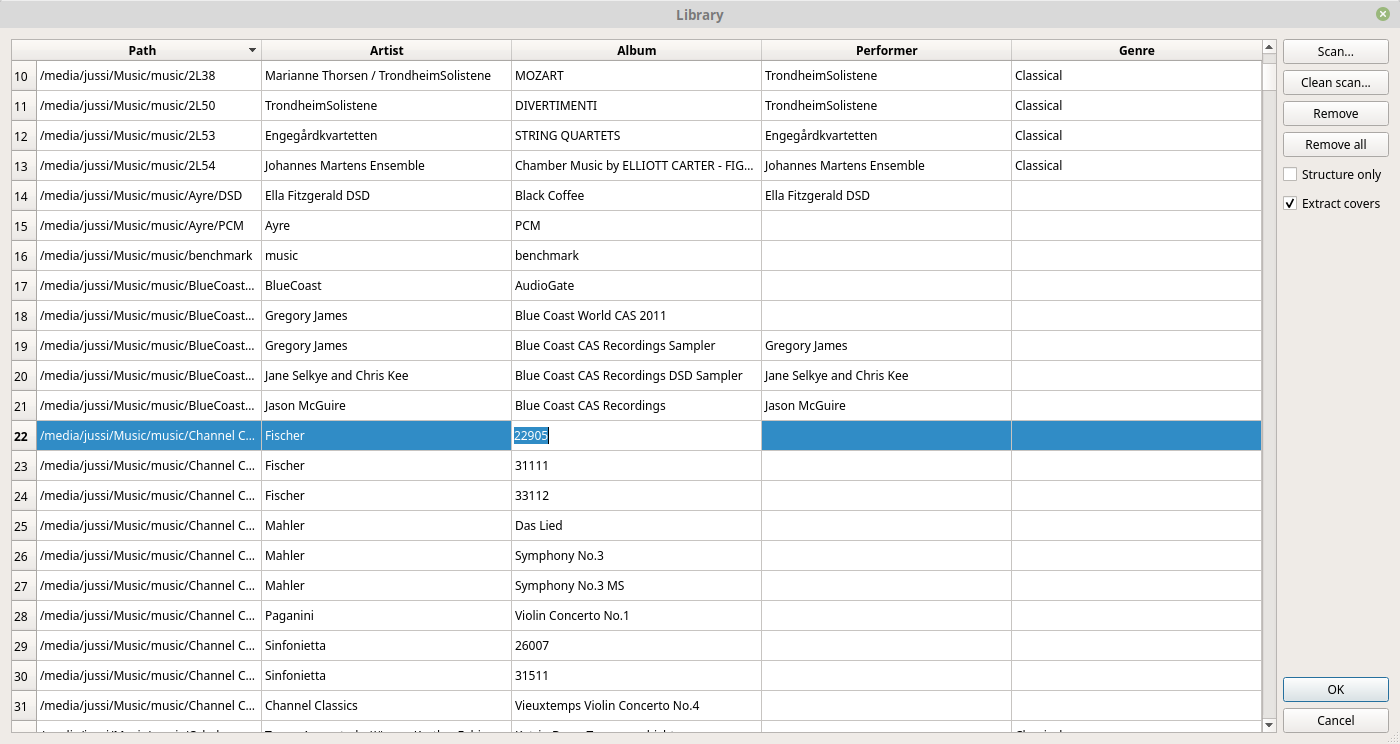
To edit any metadata item, without modifying the source files, a cell in the table can be double-clicked and modified.
HQPlayer Client
HQPlayer Client allows various control operations on HQPlayer Desktop and HQPlayer Embedded servers. This includes playback from input sources and library.
Connecting to a server
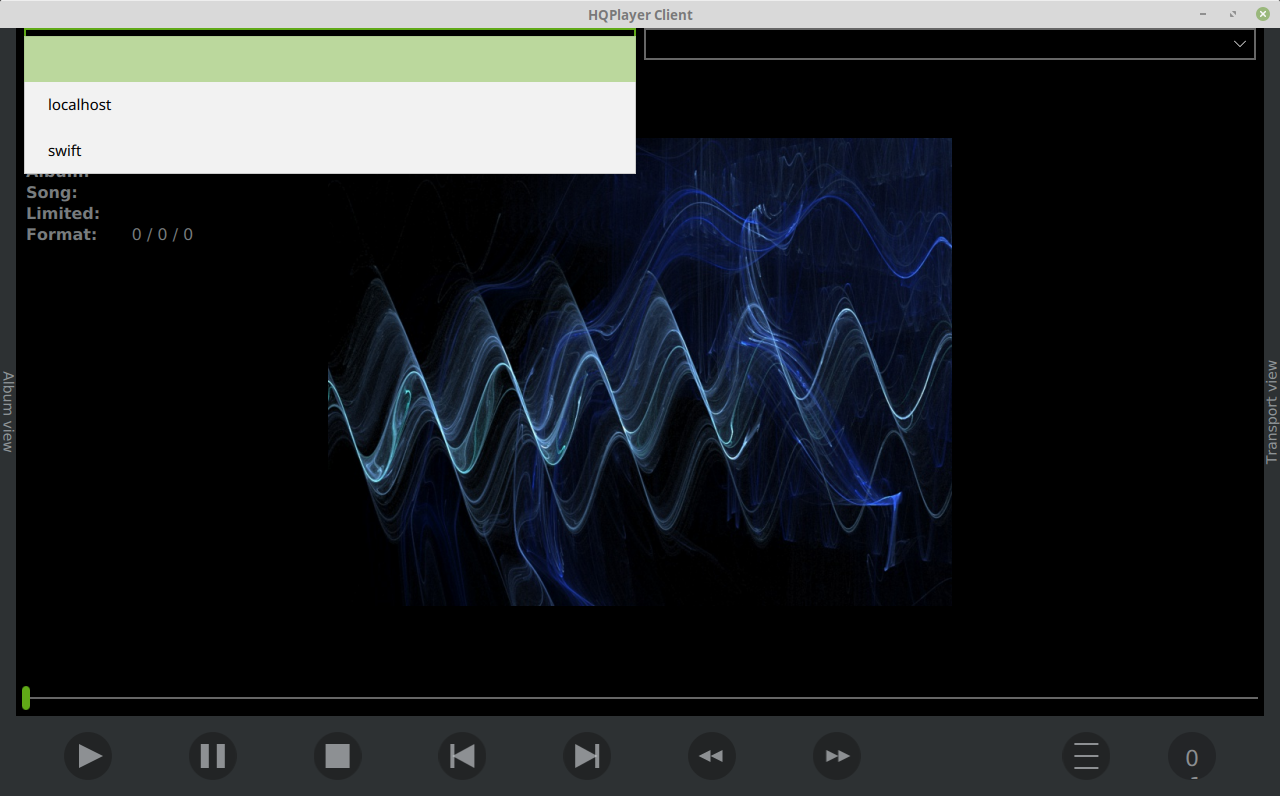
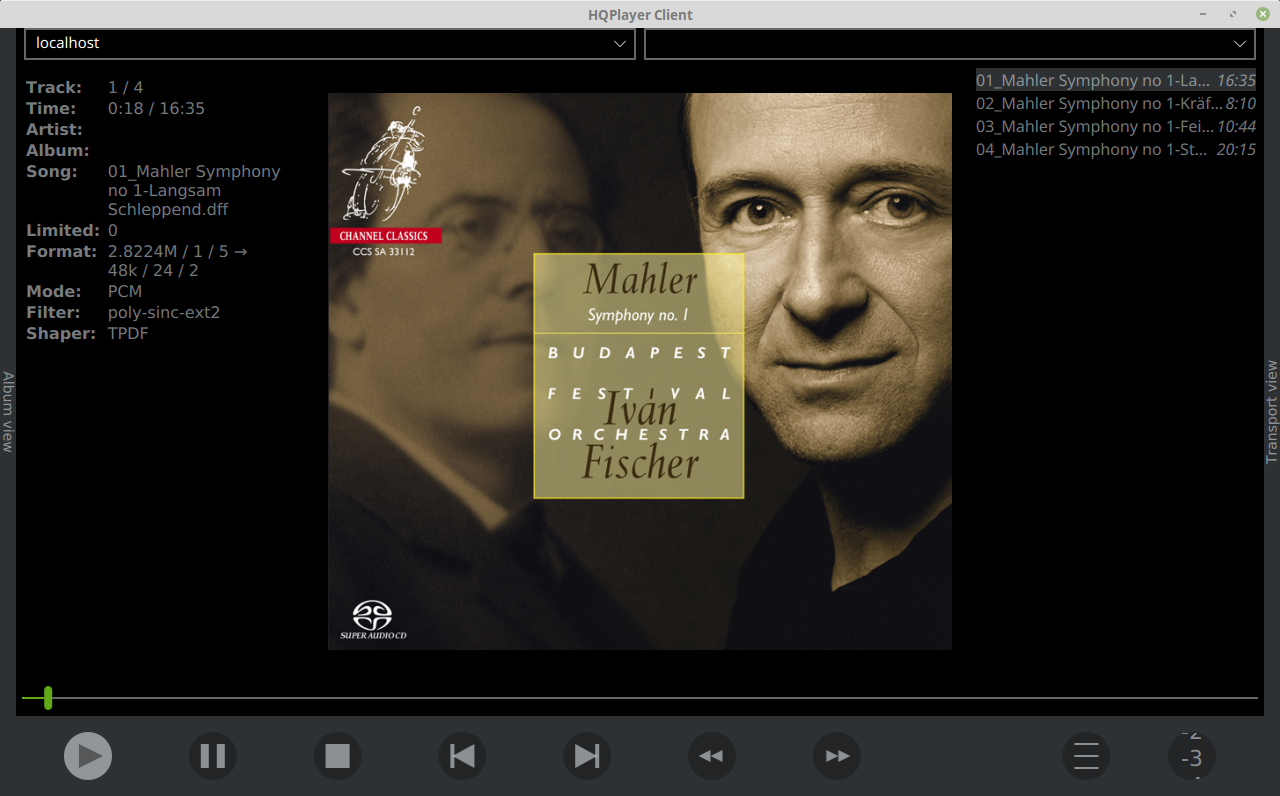
In order to connect to a HQPlayer server (Desktop or Embedded), there’s a server address selection in top-left corner of the client main/playback view. If the server is running on the same computer, select “localhost”. Note that to access a remote server instance, the server side needs to have “Allow control from network” toolbar button pressed.
Playing from the library
Once the library has been setup in the server, it can be accessed using HQPlayer Client or any of the other control applications that support HQPlayer library. There are two other views, one on the left and one on the right, views can be switched by clicking the side bar or with a swipe operation (using touch screen, or hold-and-drag with left mouse button).
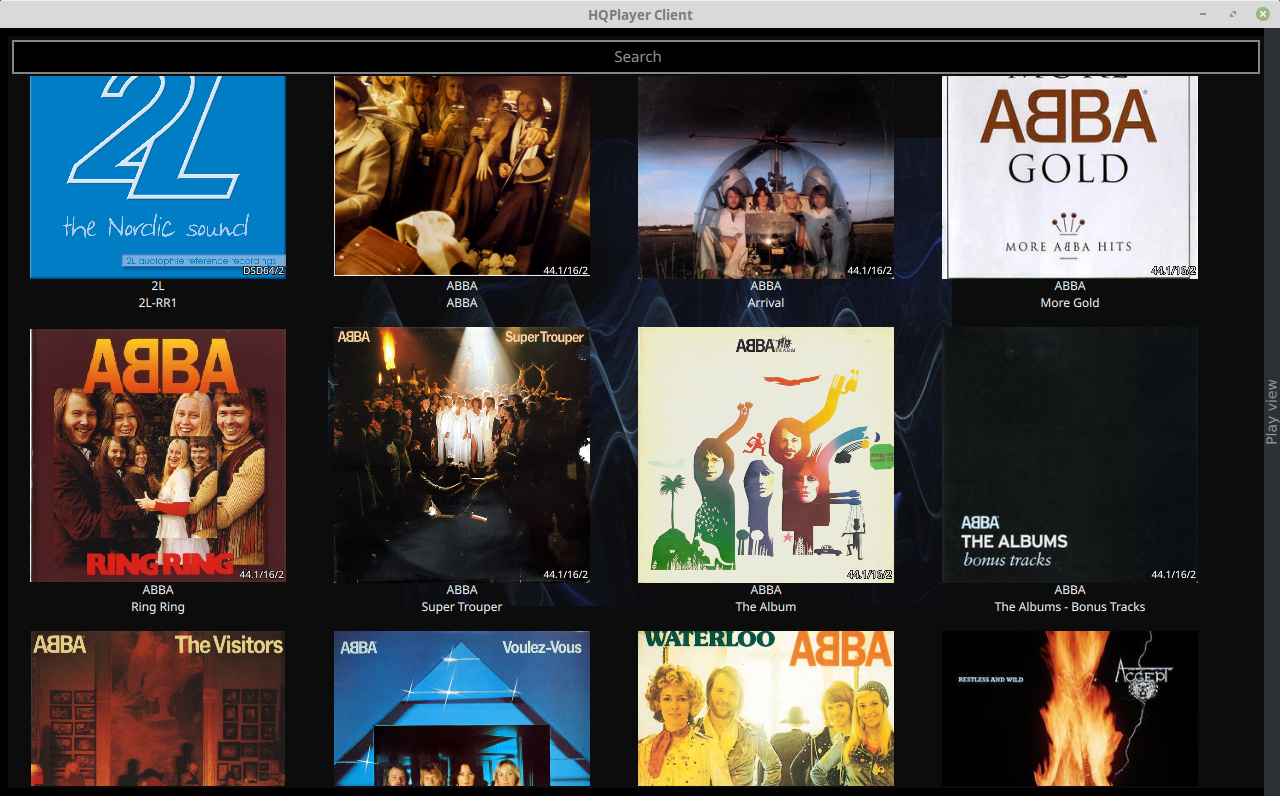
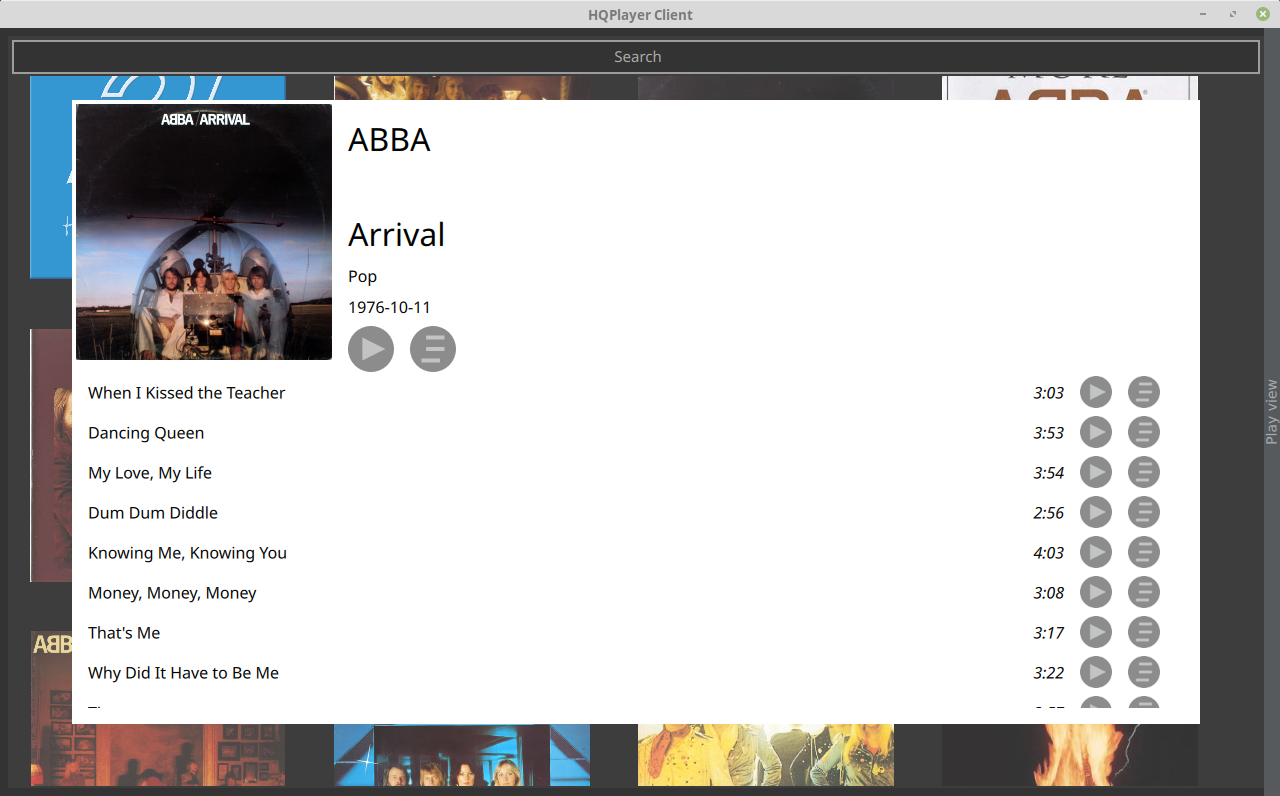
On the left there’s an album view, search terms can be entered on search entry on top and hitting enter key performs the search. Clicking an album selects it for playback, alternatively a long press on the album pops up album dialog for more information and track specific operations.
Once the content has been selected, playback can be controlled from the main/middle playback view.
Playlist editor
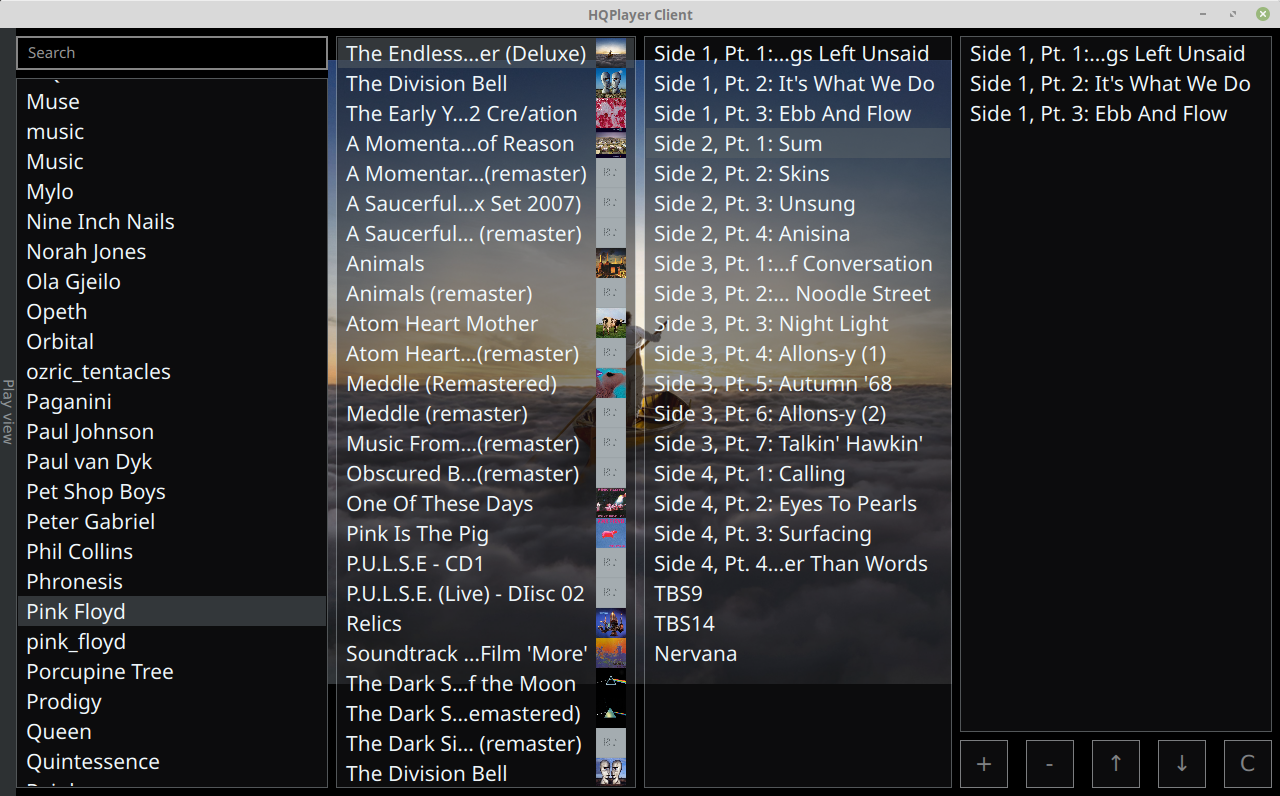
On the right side is transport view that can be used to edit current playlist. However, note that there’s a difference between album mode and playlist mode. In album mode, the track list cannot be edited as album mode expects all tracks to belong to together in certain order that forms an always continuous gapless entity.
Playing from streaming services
On HQPlayer Client, from left side transport view (cover flow) you can find service selection in top left corner. You can logout from a service using “Clear login” button in control panel on play view (button with three horizontal lines).
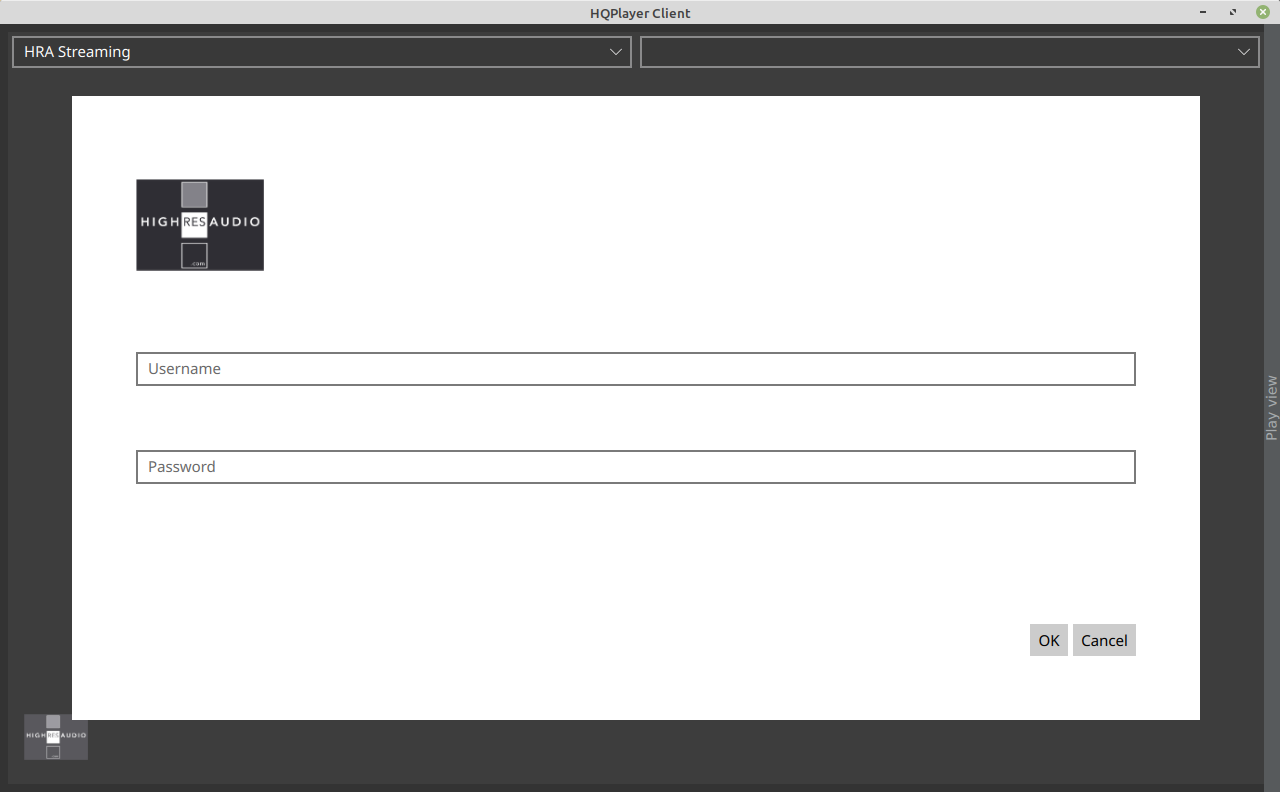
If you select HRA Streaming service, you are presented with login dialog asking for your username and password.
If you select Qobuz service, you are presented with login page, asking you to login to your Qobuz account.
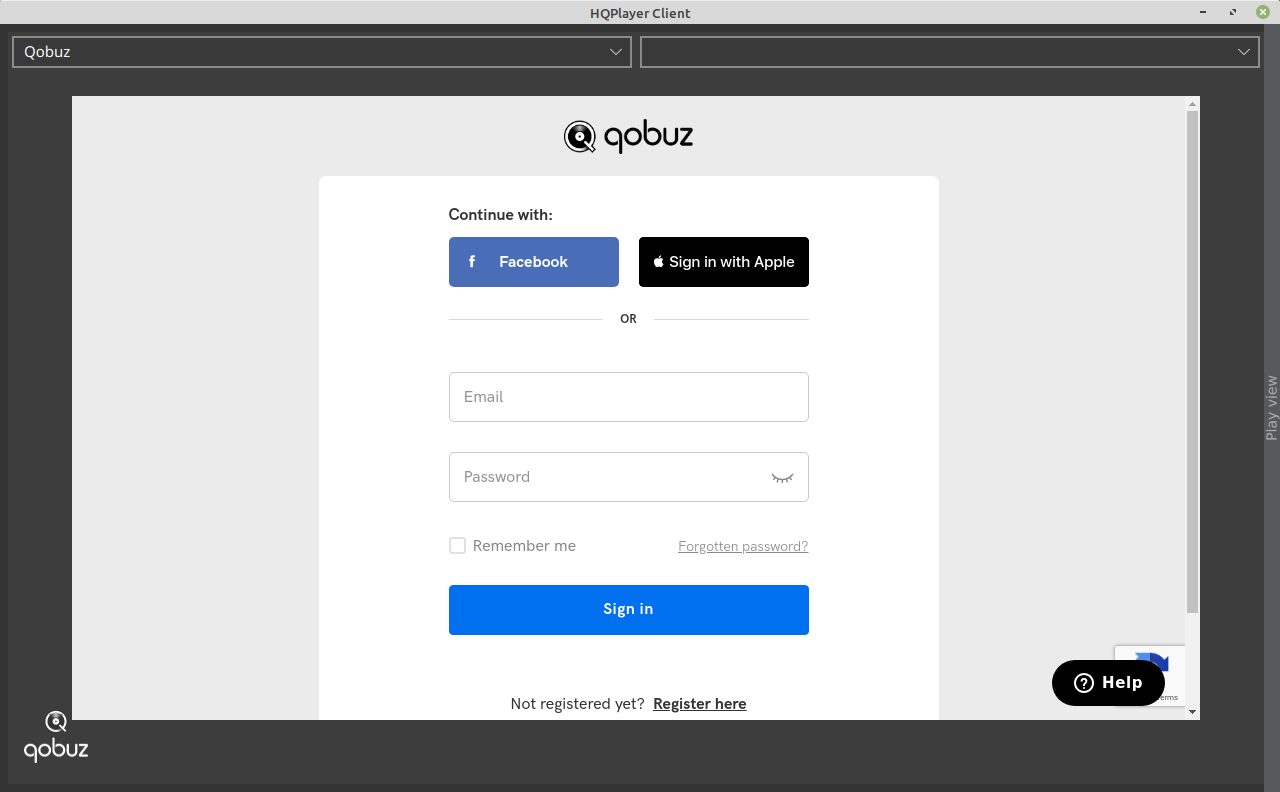
Once you have logged in, you are presented with completion page, click the “Back” button to close the page and complete login!
